For the second year in a row I exhibited my art at the CHA show, this time in Anaheim, California. I shared a booth with Carla Schauer again this year – I think we had a fantastic show! I was much more focused this year since I haben been through it all and had a better idea of what to expect. This was the 4th time I’d attended CHA, so there were plenty of familiar faces and excited about attending. Unfortunately, I was so busy working this show I forgot to stop and take pictures. I came home with a pitifully small amount of visual memories to share with you… sorry!

I started off the show by hosting a round table disccusion about promoting yourself on and offline. There are so many different direction we can focus our attention as business owners and artists or designers, sometimes it’s hard to find the important things to focus on for marketing and promotion. So for the hour of discussion I helped brainstorm ideas with different people focusing on a variety of businesses.
Next I just right into a session speaking with Theresa Cifali and Julie Fei-fan Balzer about promoting yourself and your business on and offline. This is the first time I had been part of group speaker where I was the one in charge and organizing. I think the session was a great success. We had a ton to share about social media, branding and focusing on doing what you know and love. I really enjoyed working with these two fantastic women.

I also attended an evening side event hosted by Brenda Pinnick, Karen Embry and Phyllis Dobbs to learn more about art licensing. I love hearing the perspectives of so many different people because there are so many different directions to take your art and each artist has found success in their own way. I came away having learned more tips and inspired by more ideas of how to work with manufacturers to get my art out there and on products. Most importantly I realized you just have to be brave and do it… if you don’t try, what can you gain?
 bracelets with my roomies")
I shared a hotel room, more of a family suite with 3 other fantastic artists, Laura Kelly, Carla Schauer and Niki Meiners. We had a great time when we actually saw each other. We all had so many different things we needed to get done, the only time we were really together is when we were all sleeping. Laura brought us each a goody bag (how cool is that!?) which included these awesome bracelets. The message on each is Live the Life you Love.

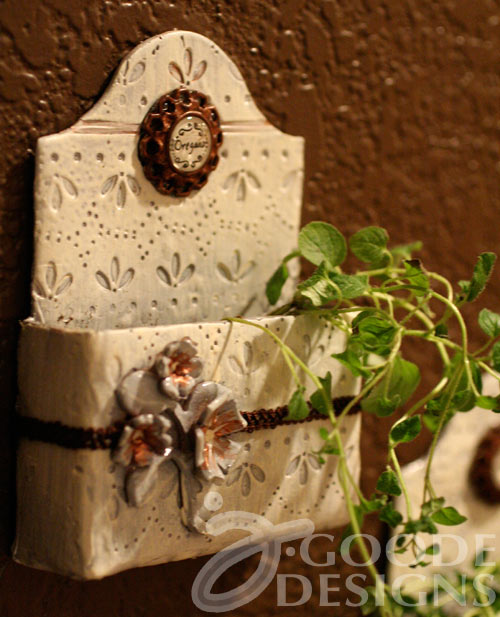
I participated in the Designer Showcase again this year. But lesson learned from the summer show and my forever long set up, this year I made an entirely different display which took about 15 minutes to set up from start to finish. I create 4 fabric banners that I painted, and added my own art to and all 4 rolled up ever so nicely and stored in the suitcase.I was so happy with this display and how easy it was to work with that I am sure I’m sticking with this for shows to come.

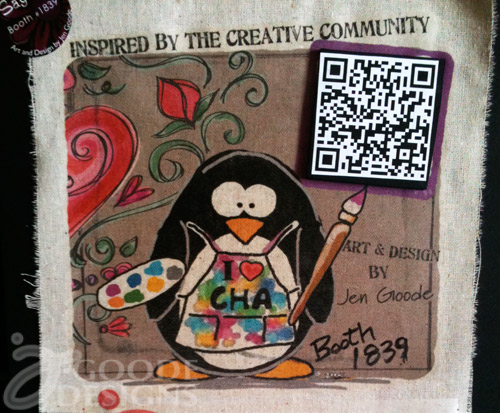
- Winter CHA 2012 Jen Goode promo sign
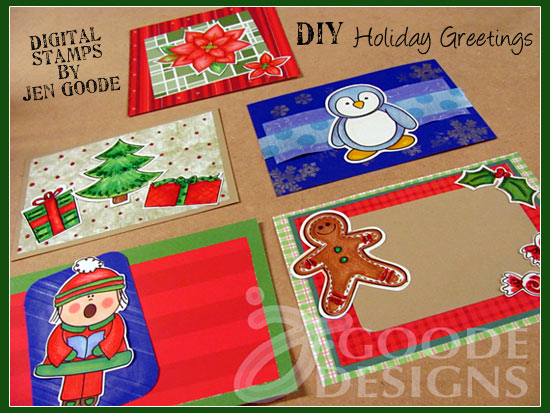
As part of this display I created a number of promo signs that included both my artist Penguin and a QR code. Previously I haven’t really used the QR codes. They seem too specific and too dependent on the user having the right equipment, etc. However, I thought I’d give it a go and see what would come of it. So far, I haven’t seen any feedback from the page specifically designed to go along with this code. I’m marking that down as a non-useful tool for now… at least when it comes to potential art licensing and design clients and how they look to contact designers.
The rest of the show I spent almost entirely inside my booth with my booth pal Carla Schauer. I had set meetings up ahead of time with this show so I was expecting to chat with quite a few people. Others that I talked with ahead of time didn’t want to set meeting times but wanted the freedom to just stop by, which they did, but that left me unable to roam the aisles of the show like I had years past. So, as a result, I don’t have anything new and exciting to share about the show. I don’t know what went on, I didn’t see it.

I took a moment to say hi to a number of people during booth set up and did a tiny bit of exploring during booth take down, but that was it. Above is a photo of me showing off my button wedding cake I made for the Buttons Galore and More booth. That was a FUN project!I also created some super fun projects for the Impress Art booth, but I didn’t get a chance to stop by and see their set up – darn busy show!

At the end of the show there is always the CHA party. This year’s theme was Community and a connection with charity. The party was set up like a carnival with a ton of different booths with activities to help support the different charities. Laura and I went over and made a couple pillowcases at the Conkerr Cancer booth. They make pillowcases for kids with cancer while the kids are staying at the hospital. Laura happened to have some of her own fabric at the show, so that’s what we used to make our pillowcases. It was so much fun! This picture is me using a gigantic pair of Westcott scissors… good thing for us, they didn’t really cut the fabric.
I had a really great time at Winter CHA 2012 and I was happy with how everything went. I was really excited to be able to talk with so many companies and again meet more new people. We’ll see where that goes.
If you’re interested in reading more CHA re-caps and seeing what cool things happened at the show. Click on the “Designer Connections” link in my side bar. Happy Hopping!